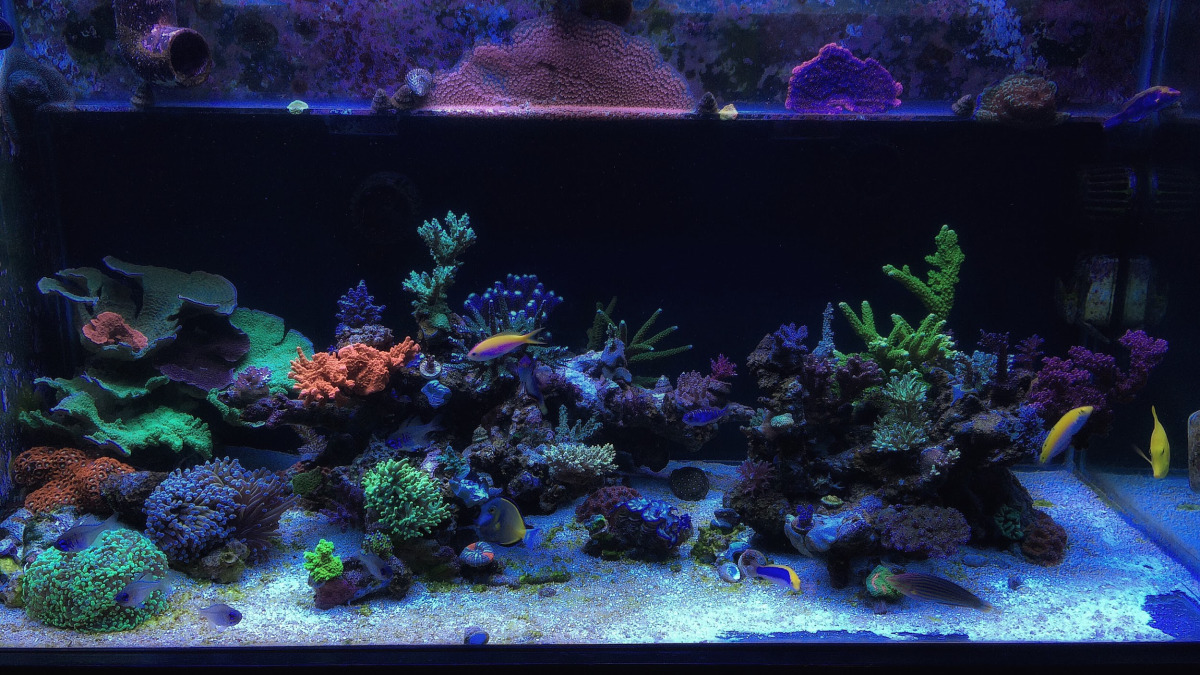
When moving house, the prospect of moving your home aquarium to the new location can seem quite daunting and risky. This need not be the case, with some solid preparation and good removals ream at hand you should be able to move the aquarium to your new home problem free.
Here are a list of essential items we recommend getting before preparing for the move
- Fish net
- Fish bags
- Rubber bands
- An aquatics transport bag or fish transport box
- Dechlorinator
- Containers to transport water
- Air pump with battery power
- Plastic measuring jug
- Bubble wrap
- Towels
- Test kits
Wherever possible, it is best to set aside a separate day for moving your aquarium or at least on a separate trip. Moving it on the same day as moving all of your other possessions could result in too much disturbance for your fish meaning they will struggle to settle after the move. As soon as you arrive, all of your attention will need to be concentrated on setting up the tank in your new house as they shouldn’t be left in their temporary transportation environment for very long.
Feeding
The day before you plan to move your tank, ensure that you do not feed your fish.
Removing Ornaments From The Tank
You will need to unplug your heater/s approximately half an hour or so before you start dismantling the tank – this will give the heater/s time to cool down and will minimise the risk of cracking which can happen if you remove from the tank will still hot.
The first job will be to remove all of the tank decor and aquarium plants. It is wise to check crevices in any ornaments you may have, as some fish may be seeking refuge in there. Gently lift the ornament just above the water level, and most fish will just swim out. You should then stack all your remaining decor inside waterproof containers such as buckets or plastic storage boxes. Bear in mind that several rocks can get somewhat heavy, so it may be worth spreading the load amongst several containers. Aquarium plants should be placed inside plastic fish bags and these should be sealed with rubber bands in order to stop them from drying out.
Catching The Fish
At this point you could start to catch your fish. However, this task will be made a great deal easier if you firstly remove (and save) some of the water from your aquarium, as there will be less room for the fish to swim and evade your net. We would suggest that you start a siphon with a length of hose going into a plastic container, taking care to avoid the fish. The size of your tank will determine how many containers you may need. You should aim to save as much water from your tank as possible, to avoid vast changes in water conditions at the other end, which may stress your fish or could even make them ill in some cases.
For fish catching purposes, it is wise to remove approximately 3/4 of the volume of water from the tank before you start. You should prepare your fish bags by filling them 1/3 full with aquarium water. The rest of the space will be filled with air. Wherever possible, most fish should be bagged separately as some species exude toxins when stressed, and this could kill your other fish.
When you lift the fish from the water in order to put your it into the fish bag, ensure that you cover the net with your other hand, as fish can jump. Once the fish is in the bag, try and trap as much air in the bag as possible, and seal the top with a rubber band. Double bag each fish as it eliminate corners for the fish to become trapped in, but it also insulates, and keeps the fish safe should the unlikely event occur of one of the bags breaking. Once your first bag is tied with a rubber band, gently and slowly turn the bag upside down and slide the bag inside another one, also tying this off with an elastic band.
Next, you will need to remove your other equipment, such as the heaters, filters, pumps etc. The filter itself should be kept damp in order to preserve as much as the friendly bacteria as possible. The best way is usually to pack the filter media in fish bags filled partially with aquarium water, in a similar manner to the way the fish are bagged. If the journey is over an hour or so, it is wise to use a battery powered air pump to create a flow of oxygen in the bag of filter media in order to keep the beneficial bacteria alive. Filter media should not be exposed to extremes of temperature, so pack somewhere sensible. Heaters should be wrapped carefully to avoid breakages (heater glass is very delicate, and you may not know where the nearest aquatic centre is to your new location in the event of an emergency). Drain out the remaining tank water into your water containers, as you will want to keep this to avoid the need for large water changes at the other end (particularly important for areas of differing water chemistry). You will then need to scoop out the majority of the substrate (e.g. sand, gravel etc) and place it in plastic buckets. Again this waterlogged substrate is going to be extremely heavy, so pack it in several containers to spread the load.
You will then need to pack everything into the removals van for the journey. Wrap the aquarium in bubble wrap, old towels or blankets to help protect it. Make sure it is in a secure position where it cannot move about too much, you definitely wouldn’t want it flying forwards in the event of having to break suddenly.
Reintegrating in Your New Home
At your new address, make unpacking the aquarium your priority. Get the tank into position, and scoop the substrate back in. Re-fill with the old aquarium water that you have saved in the plastic containers. Re-assemble your filters, heaters, pumps etc and switch them back on. You should only put some of the decor back in at this stage, as you do not want to cause too much of a delay in getting the fish back in. The water is likely to have become a little cloudy too, so you won’t necessarily be able to see exactly where you are putting things (make sure your plants are kept sealed in their damp fish bags, and then they should be ok in there for a day or so until you get a chance to plant the tank out properly). As long as you have given the fish somewhere to hide when they go back into their home, then this is fine.
You will need to add the fish as you would normally do after buying them from a shop. Either use a Fintro or float the bags on the surface for 45 minutes, mixing in a little of your aquarium water every 10 minutes. The lights should be switched off during this time and for a while afterwards to minimise the stress that the fish will be enduring. After this time, gently release the fish, ensuring that you keep the lights off for a further few hours, no matter how tempting it might be to want to see your fish in your new home. You can then top up the tank with dechlorinated tap water or R.O. water (whichever you use) and this will hopefully only be the equivalent to a small partial water change, as you should have been able to keep most of the existing water. Do not feed the fish on this day, as you are likely to have lost some of the bacteria in your filter and it may not be able to cope very well with waste products produced.
For a month or so after the disruption, the filter will be re-adjusting and you will need to keep a close eye on ammonia and nitrite levels in the tank with the use of test kits. You should feed only if the levels are at zero, and feed every other day for the first two weeks after moving. You should be prepared to do additional small water changes if necessary and do not over-feed or add any new fish to the tank during this time.